How to set up a Flutterwave Store
Updated 2 months ago
Flutterwave store is the easiest way to launch and seamlessly manage an e-commerce business that accepts payments from anywhere in the world without having to create a website from scratch.
How to set up a Flutterwave Store
First, you need a Flutterwave account. If you don’t have one already, you can sign up here. To set up a Flutterwave store:
Login to your Flutterwave dashboard
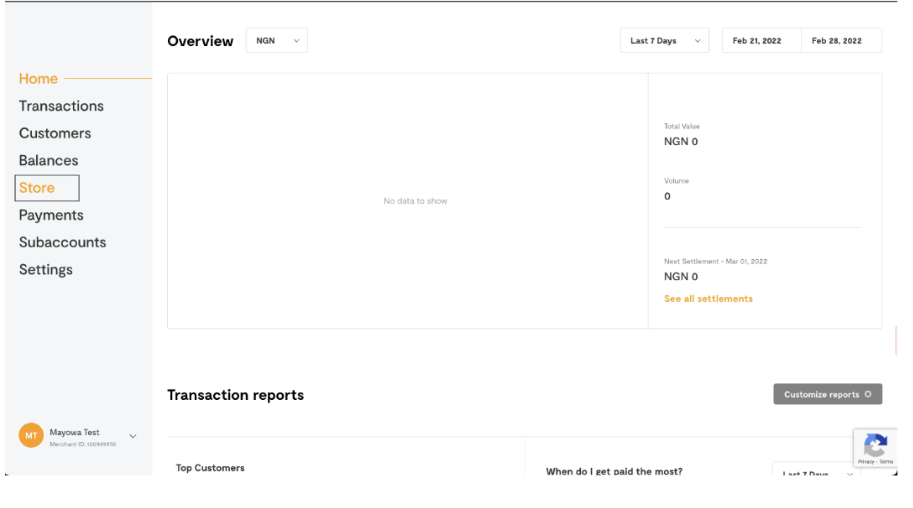
Click "Store" on the left side of your dashboard
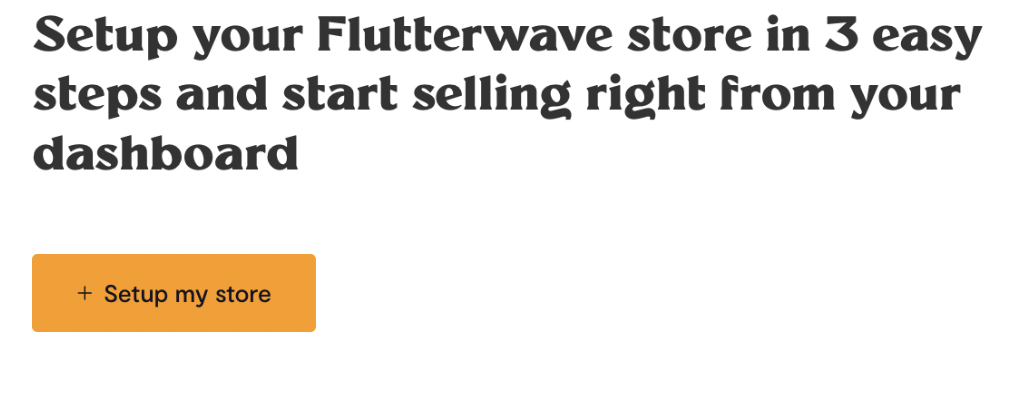
Click on Setup my store
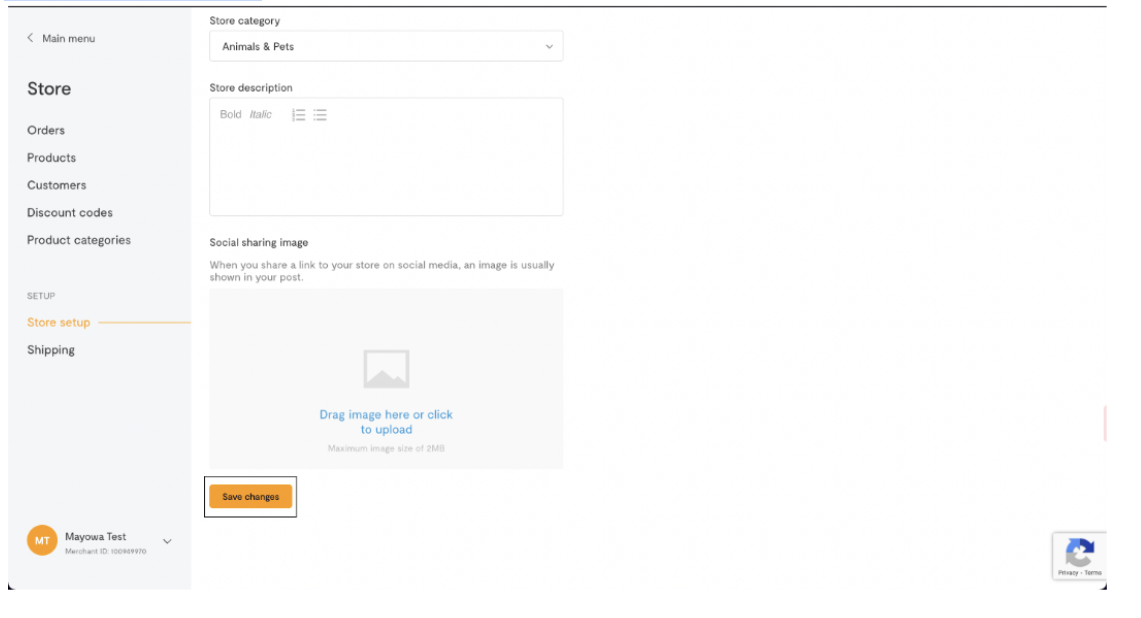
Fill in your store name and other store information
Edit your store URL if necessary
Click “Create store”


Your store link is automatically generated and displayed on the store setup page of your dashboard. You can share the link with customers to visit and buy products from your store.
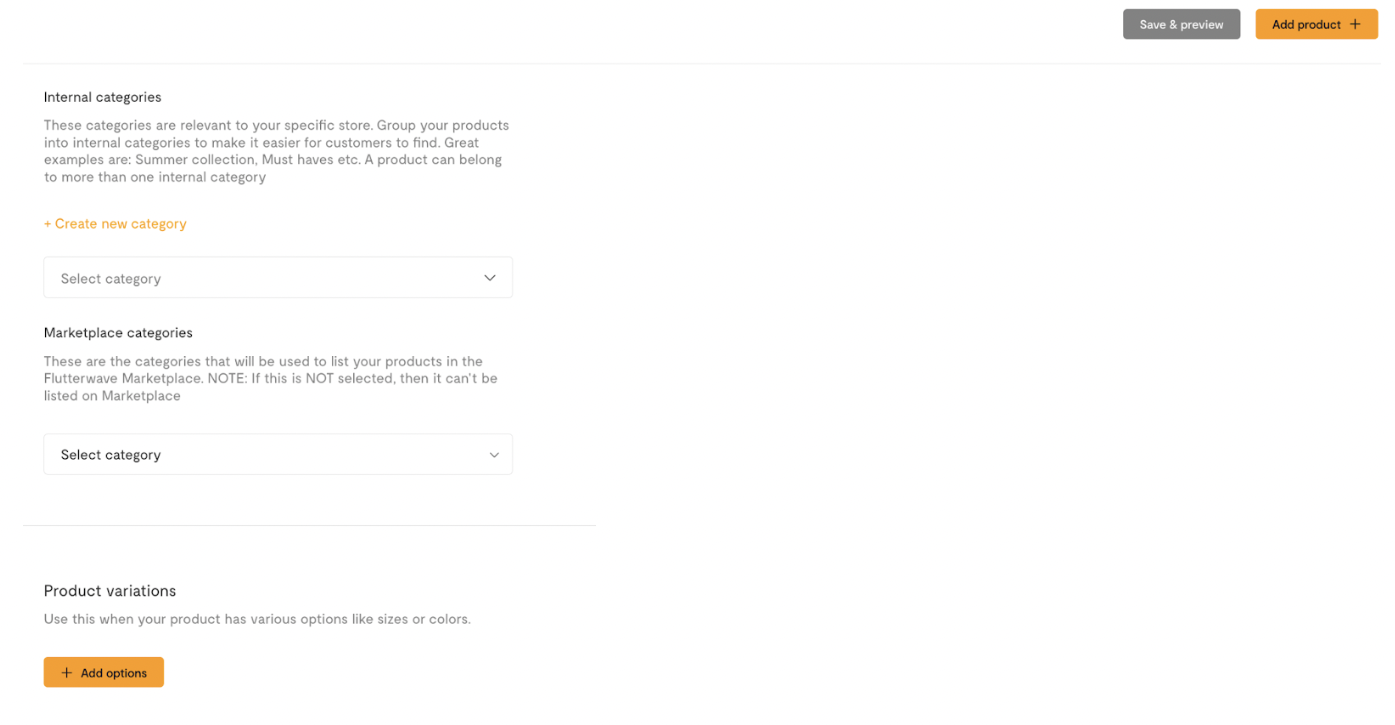
How to add products to your Flutterwave store
Click “Store” on the left side of your dashboard then click “Products”
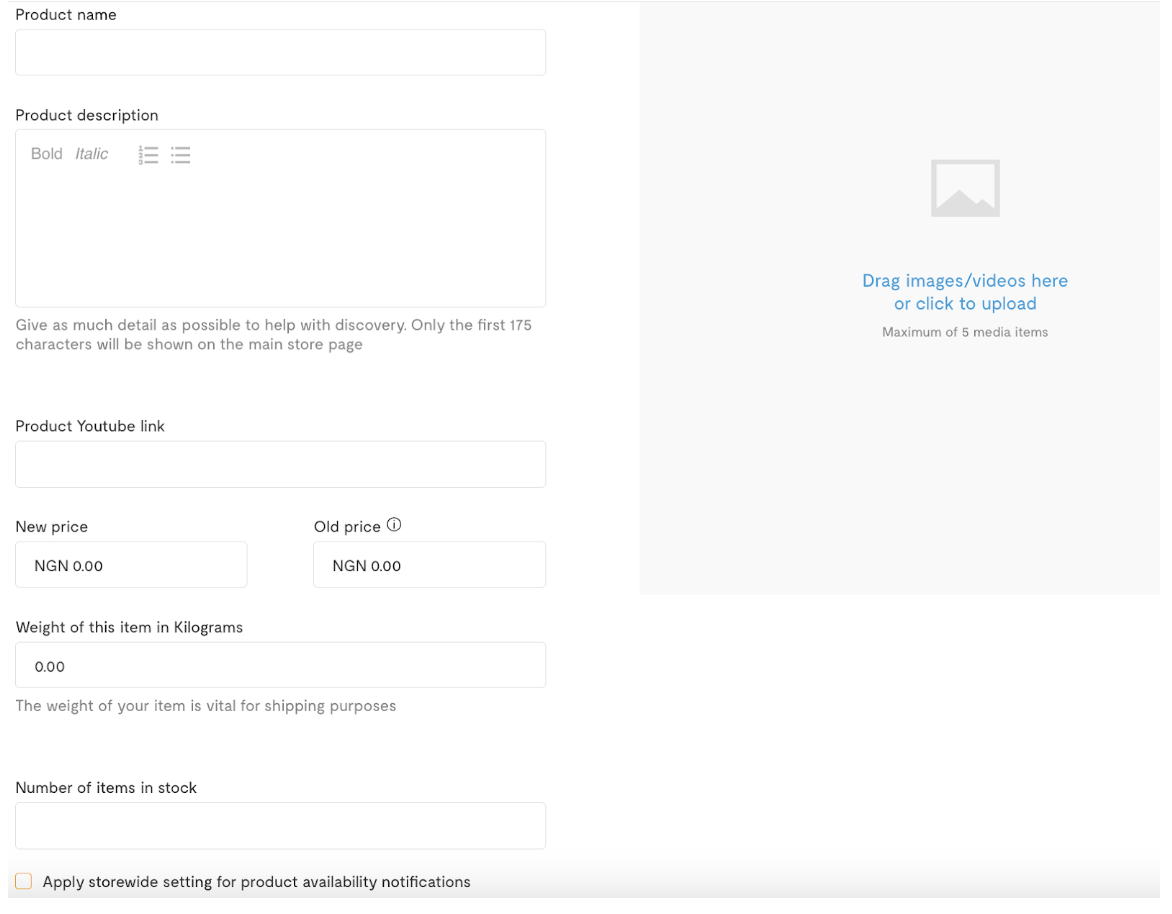
Click “Add Product” at the top right of your dashboard

Fill in the details of your product and click "Add product" to have it displayed on your Flutterwave store.


You can check out your Flutterwave store link to confirm your products are displayed the way you want and then share the link with customers to easily order from you.
How to remove products from your Flutterwave store
Click “Store” on the left side of your dashboard then click “Products”
Click on the product you want to remove from your store then click “Product options” at the top right of your dashboard

You can click “Take product offline” if you want the product to still be on your dashboard, but you don’t want customers to see it on your Flutterwave store. Then click “Save”
Or, you can click “Delete” if you want it deleted completely from your list of products.

How to add a delivery fee to your Flutterwave store
You can choose to let Flutterwave handle your shipping by enabling "Flutterwave shipping partner" on your Store. Alternatively, you can handle your shipping by enabling "I'll handle my own shipping". To do this,
Click “Store” on the left side of your dashboard then click “Shipping”
Under “Shipping Preference” click “I’ll handle my shipping”
Under “Shipping region and dates” click “Add shipping region” You can add different shipping/delivery fees for different regions.
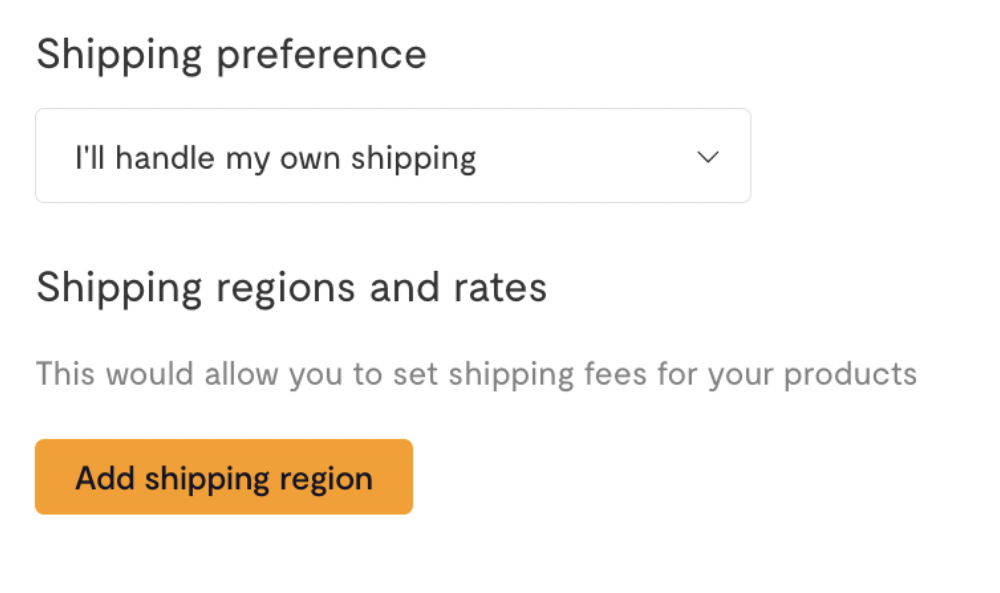
Fill the form with the region and price then click “Save”
Click here to learn more about Flutterwave shipping partner

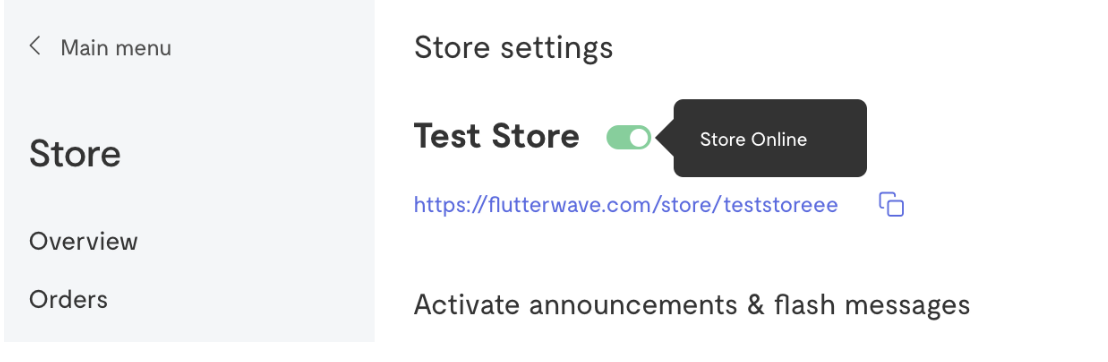
How to take your Flutterwave store offline/online
Click “Store” on the left side of your dashboard then click “Manage Store”
Click “Edit store” at the top right of your dashboard
Click on the toggle button to take your store online/offline

How to create discount codes on your Flutterwave Store
Click “Store” on the left side of your dashboard then click “Discount codes”
Click "New discount" at the top right of your dashboard

Fill in the details of the discount code. If you want your discounted products featured in the Deals category of the Flutterwave Market then use “FLWDEALS” as the discount code.
Click on “Save Discount”

You can share the discount code with your customers to use when they shop from you.
Set wait period for items in cart
You have the option to set a wait period for items in your customer's cart. This prompts your customers to checkout faster as items not paid for within the set wait time are returned to the store.
To set a wait period, follow these steps:
Click “Store” on the left side of your dashboard then click “Manage store”
Scroll down and select your preferred wait time under "set wait period for items in cart". You can choose between a default wait time (30 minutes) or set a custom wait time.


We'd like to hear from you
Suggest the type of support articles you'd like to see
Still need help?
Get in touch if you have more questions that haven’t been answered here