
This article will help you understand how to issue virtual cards using Flutterwave. After reading the article, you should be able to create, fund and make payments with virtual cards. To get the most out of this tutorial, you should be familiar with JavaScript syntax/fundamentals and Node.js or npm should be set up on your system.
This tutorial covers the following major aspects of the project:
- Project Setup
- Setting up Index.js
- Setting up the Routes
- Creating the Virtual card in your App
- Funding your Card
- Payment with Virtual card
Project Setup
Let’s set up our project by running npm init this will create your package.json file.
Go ahead and install the following packages that we are going to use in this project as shown below:

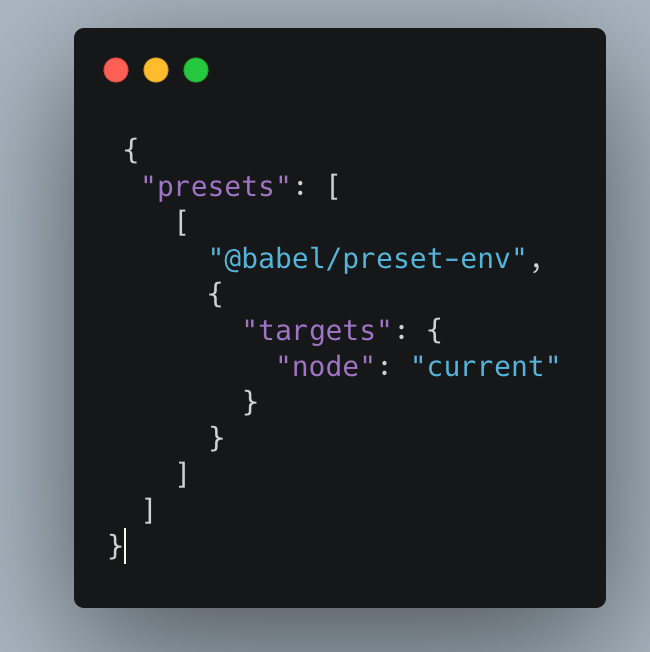
Create a babel.rc file at the root directory and add the following code:
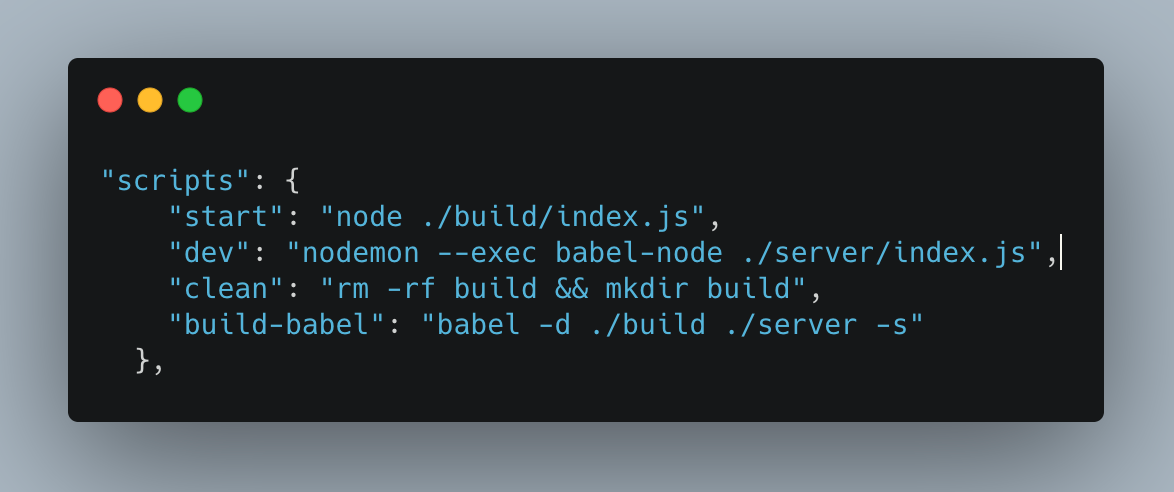
Add the following script commands in your package.json file
Once done, we need to make your project directory look like this:

NB: We will go through them soon.
Setting up index.js
We will create an index.js file inside the server folder and add the following code. This sets up our node server using express and catches errors when a wrong route is visited.

Run npm run dev to start your application.
The application will be running on the provided port, in this case: http://localhost:3001/
Setting Up The Routes
Inside the route folder create a file called card.route and add the following:

This sets up all the routes we are going to use in this project.
- The GET request to /list_Vcard will list all the virtual cards we have
- The POST request to /create_Vcard will use this route to create Virtual cards
- The POST request to /fund_Vcard will use this route to fund or Virtual cards
- The POST request to /pay will use this route to make payment using our Virtual cards
Create a card.controller.js file in the controllers folder and add the following. This doesn’t do anything now and will become handy soon.

import our route files inside the index.js file
import cardRouter from ‘./routes/card.route’;
app.use(${prefix}/, cardRouter);
with this, we can have access to all the routes in our card.route.js file.
Creating The Virtual Card In Your App
To create a virtual card, let’s first set up our flutterwave-node package which we are going to use in this project. Please find the link to the flutterwave-node package here.
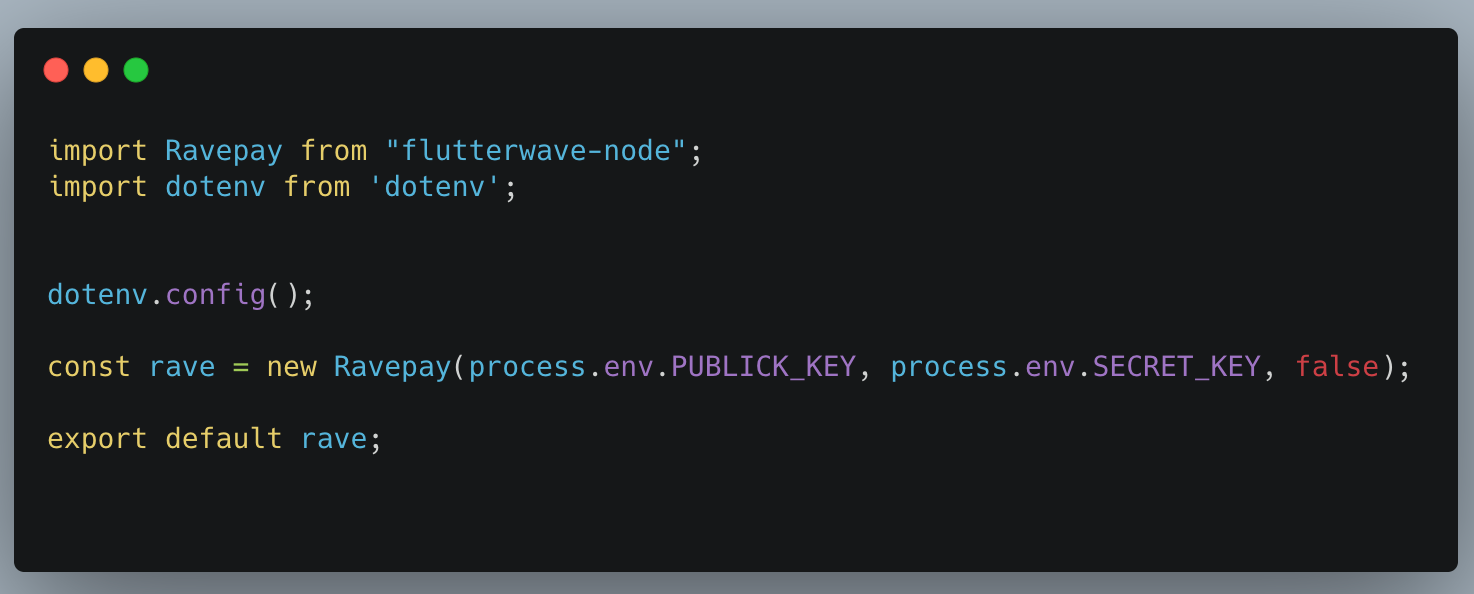
Navigate to the config folder and create a file (you can name it anything you like). In this file, we are initialising our flutterwave-node application with our flutterwave public key and secret key.
Now in our controller, let’s add this to our create card method and import rave from our config folder. This calls the rave.VirtualCards.create( ) method which creates the virtual card.

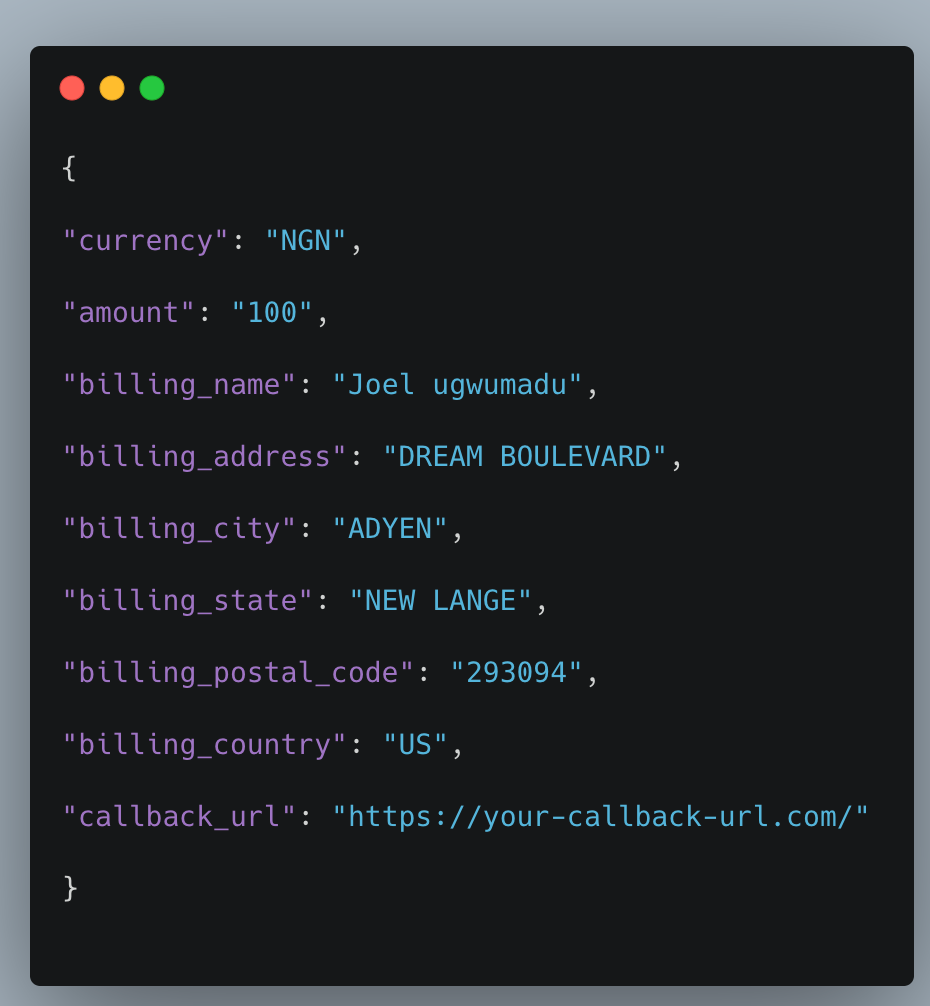
Here is a sample request payload for the creation of virtual cards in your application.
Funding Your Card
To fund our cards, we need to update our fund_Vcard method in our controller that calls the rave.VirtualCards.fund( ) method which funds the virtual card.
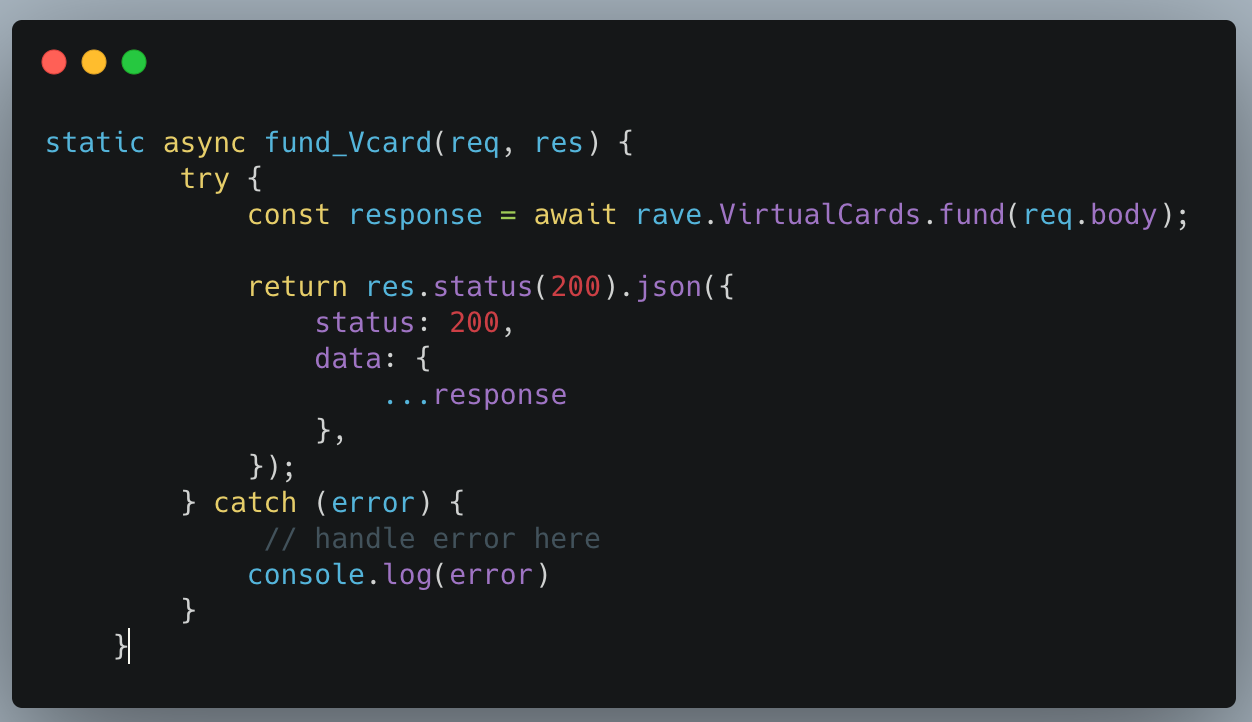
Pass the following payload where the id is the id of the virtual card you want to fund

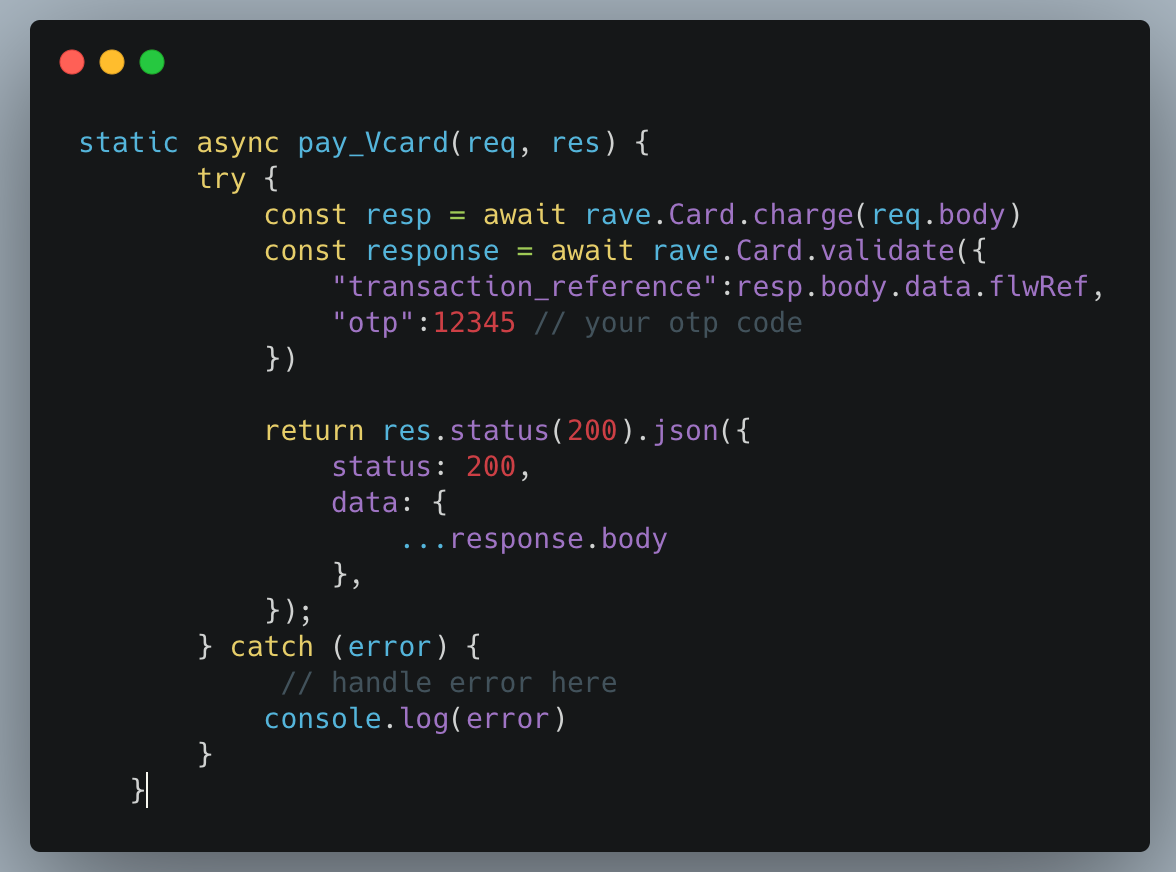
Payment With Virtual Card
Now, let’s update the pay_Vcard method in our controller. Send your Virtual Card details in the body of this request to charge the card.
These virtual card details can be used to make any online transactions wherever you’d like. If you ever run into any issues, You can find the complete code in this GitHub repo or reach out to the developer team via email and developer forum.